Imagine inviting a friend to your house for dinner. They walk up to your front door, but suddenly, a police officer jumps out of the bushes and yells: “STOP! THIS HOUSE IS NOT SECURE! ENTER AT YOUR OWN RISK!”
Your friend would run away, right?
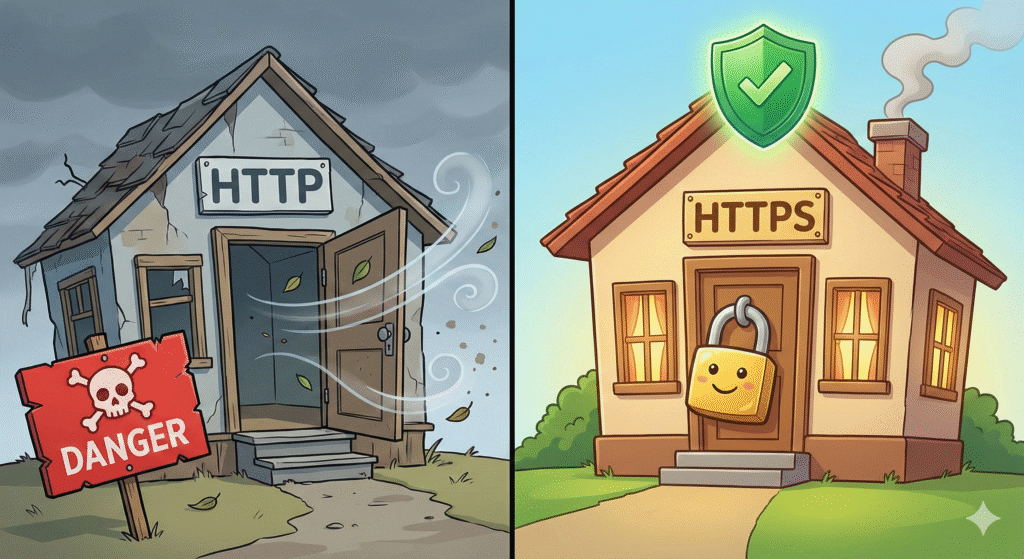
This is exactly what happens on the internet. If your website doesn’t have SSL, Google Chrome shows a scary message next to your URL: “Not Secure.”
When I first saw that on my blog, I felt embarrassed. I wasn’t a hacker! I wasn’t stealing data! I was just sharing my personal stories! But I realized that to the world, my “front door” was wide open. And in 2025, nobody walks through an open door.
SSL stands for “Secure Sockets Layer.” Boring, right? Let’s call it The Padlock.
It is a digital certificate that proves your website is safe.
- Without SSL (HTTP): When a reader types a password or credit card number on your site, that info travels through the internet like a postcard. Anyone can read it.
- With SSL (HTTPS): That info travels like a locked armored truck. Only you and the reader have the key.
It turns your web address from http:// (Unsafe) to https:// (Secure). That “S” stands for Security.
You might think: “But I don’t sell anything! I don’t collect credit cards! Why do I need a lock?”
You need it because Google demands it.
Years ago, Google decided that every website should be safe. They made SSL a Ranking Factor. This means:
- Website A (Has SSL): Google trusts it. It goes up in the rankings.
- Website B (No SSL): Google thinks it is sketchy. It pushes it down.
If you want people to find your blog, you need the lock. It’s not optional anymore, it’s the law of the internet.
The good news? You don’t need to be a coder to install this.
Method 1: Ask Your Host (The Easy Way) Most modern hosts are great about this. For example, my favourite host, Bluehost, gives you a Free SSL Certificate automatically when you sign up.
- How it works on Bluehost: They usually turn it on by default. If you don’t see the lock, you just log into your Bluehost dashboard, go to “My Sites,” click “Manage Site,” and under the “Security” tab, flip the SSL switch to ON. It takes 10 seconds.
- Other Hosts: SiteGround and Spaceship also offer free SSLs (usually via “Let’s Encrypt”). Just look for the “Security” tab.

Method 2: Really Simple SSL (The Plugin Way) If you turned it on in your host but the lock still isn’t showing up on WordPress, there is a magical plugin.
- Go to Plugins > Add New.
- Search for “Really Simple SSL.”
- Install and activate.
- It will usually fix the problem automatically with one click.
Sometimes, you install SSL, but the padlock doesn’t turn green. It stays grey or shows a warning triangle.
This is usually because of Images. You might have an old photo on your homepage that is still loading from an unsafe link (http://image.jpg instead of https://image.jpg).
It’s like locking your front door but leaving the bathroom window wide open.
The Fix: Use that “Really Simple SSL” plugin I mentioned above. It automatically finds those open windows and locks them for you.
It’s About Respect
Securing your website isn’t just about making Google happy. It is about telling your readers: “I care about you.”
When they see that little lock next to your name, they relax. So, go check your URL bar right now. Is the lock there? If not, go get your keys.